Create a Website with HTML5 - Lesson #4
Adding the Nav and Main Elements
In the last lesson we added our web page header, formatted it with a style sheet and previewed in a browser.
In this lesson we'll add our navigation device with future page links , then the main element, fill it with content, add an image and use our style sheet to format the web page content.
Exercise #1
In Exercise #1 we'll add a nav element to the page and add it's style settings to the style sheet.
Copy and paste the code shown below into mytemplate.html below the closing </header> tag.
<nav>
<p><a href="index.html">Home</a>
<p><a href="page2.html">Page 2</a>
<p><a href="page3.html">Page 3</a>
</nav>
Save mytemplate.html
Copy and paste the code shown below into the style sheet below the last entry.
nav {
width: 100%;
background: #24486B;
float: left;
border-radius: 10px;
box-shadow: 5px 5px 10px #202020
}

nav p {
float: left;
padding: .5% 2%
}
Save mytemplate.html
Preview mytemplate.html
You should see something like this:

Don't worry, we'll dress up the links in a later lesson, when we add our new pages. You are looking at default colors for the links.
Exercise #2
In Exercise #2 we'll add a main element to the page and add it's style settings to the style sheet.
Copy and paste the code shown below into mytemplate.html below the closing </nav> tag.
<main>
</main>
Save mytemplate.html
Copy and paste the code shown below into the style sheet below the last entry.
main {
width:100%;
background: #ffffff;
float: left;
margin: 1% 0;
border-radius: 10px;
box-shadow: 5px 5px 10px #202020
}
Save mytemplate.html
We won't preview the web page yet because the main element won't show up until we add some content.
We'll do that in the next exercise.
Exercise #3
In this exercise we'll add text very similar to that found on the home page of this website to the main element.
We'll preview and see what it looks like before and after we add the style settings.
Copy and paste the code shown below into mytemplate.html below the
<main> tag. Leave the space for adding an image.
HELP: Some are thinking, "How can all of this code go in that little space!" To create space under a tag, place your cursor at the end of the closing bracket and press Enter a couple of times. In this case you would place your cursor as shown here. <main>|
Don't worry. It will fit.
<h1>Create a Website with HTML</h1>
<p>You've been surfing the internet for years and you always wanted to know how to create a website.</p>
<p>Does it require a very technical mind or do you have to have a college degree to even start?</p>
<p>This little web site was designed for people with no knowledge of web design or any technical skills.</p>
<p>You will learn <strong>how to create a website with HTML</strong>.</p>
<p>Even if you think that your computer expertise is limited to turning on your machine, you can benefit from the information contained in these web pages.</p>
<p>You won't just learn to use HTML code and format web pages with style sheets.</p>
<p>You'll also learn basic things like:<br>
how to use a simple text editor<br>
how to copy and paste<br>
how to create folders<br>
how to store files and images that make up your website<br>
how to preview web pages with a browser.</p>
<p>You will learn how to create a website <strong>The Right Way, The First time!</strong> There are a lot of tutorials on the internet that teach you how to build websites. Use them and you'll most likely be rebuilding your website to keep up with the times.</p>
<p>Use our tutorial, you'll get started right and you'll be ready to progress to some of our more advanced teaching aids.</p>
Save mytemplate.html.
Preview the web page in your browser.
You should see this:
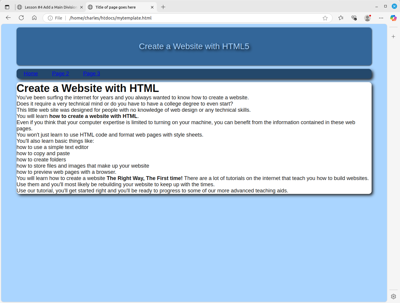
The text appears but clearly needs some fixing up. We need to add some settings to the style sheet.
Copy and paste the code shown below into the style sheet below the last entry.
main h1 {
font-size : 28px;
text-align : center;
color : #003399;
margin: 2% 0 }

main p {
font-size:20px;
text-align : left;
text-indent : 20px ;
margin: 2% 10% }
Save mytemplate.html
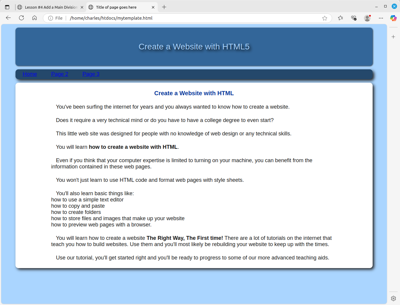
Now preview mytemplate.html again, (you may need to refresh or reload the browser window) and see if you notice any changes.
This time the page looks like this:
Exercise #4
In this exercise we'll add the My Road image that appears on the home page and see how to position images on a web page.
Download Image
Right click on the road image below, Copy and Save it in your htdocs/images folder as road-375.png.
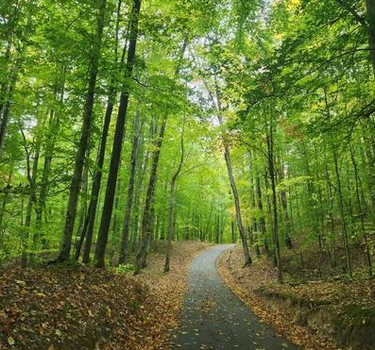
Help: If you can't drag it on Windows or copy and paste on Linux download it Extract It and then move it to the htdocs/images folder.
Click to Download
Copy and paste the code shown below into mytemplate.html. Place it below the paragraph <p>This little web site was designed for people with no knowledge of web design or any technical skills.</p> (should be a space provided)
<p><img src="images/road-375.png" alt="my road image"></p>
Save mytemplate.html
Preview with your browser.
If you expand your browser window to full width, you notice that the text lays right against the image. Let's fix it.
Copy and paste the code shown below into mytemplate.html below the last entry.
main img {
margin: 4% 4%;
float:left;
border: solid #000000 1px;
box-shadow: 4px 4px 8px #202020
 }

main img {
max-width: 100%
}
Save mytemplate.html
Now preview mytemplate.html again, (you may need to refresh or reload the browser window) and see if you notice any changes.
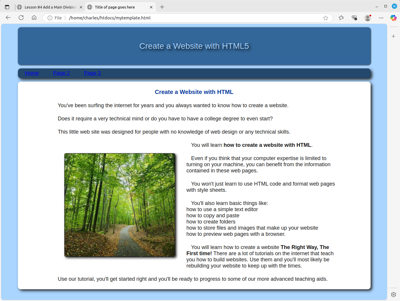 You should now have a web page very similar to the home page of this tutorial. We still need to add the footer division.
Resize the browser window until it is just a thin column and watch as the image scales to fit the available space.
This is how the web page should perform:

The setting that produces this effect is max-width: 100%;.
The extra space above and below the image was produced using this line of code: padding: 4% 4% (Exagerated here to show the result - should reduce to about 1% or 2%)
Once again, if you don't like rounded corners and shadow, just leave off the code that produces it.

Liquid Demo This little demonstration shows the importance of using the proper code to add images to your web pages when building responsive websites. See The Demo
In Lesson #5 we'll add the footer and complete the web page.
If you think you're ready, Proceed to Lesson #5
 go back