Uploading Your Website
CoreFTP Connected
When you click Connect on the Site Manager screen, the screen shown below comes to the front and CoreFTP connects to your website. (If you entered all the information correctly). Local files and directories on your PC appear in the left window. Website files and directories on the internet appear in the right window.
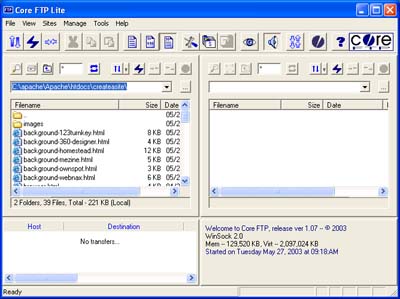
What appears in the right window depends on how your web host sets up your website.
You should see a blank window, which means you are set up to upload to the httpdocs or htdocs folder.
Your web host should have sent you information that tells you where to upload HTML files to.
You can manuever thru your directories using the crooked arrow button on the top of each window.
(Note: We had to add the path manually on the local files the first time we used the program)
There are different ways to upload a file to your website.
Starting out, the easiest way would be:
1...Right Click on the desired file in the left window.
2...Choose Transfer.
You can also set up a double click option or use the queue feature.
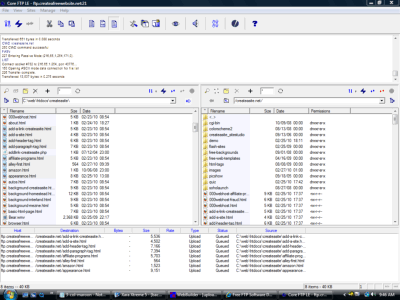
The Queue feature is used when you have a long list of files or images to upload or download and you don't want to sit there and do each transfer individually. (Queue is just a list)
When you right click a file, then click Queue you'll see the selected file appear in the bottom left window. Add as many files as you wish, then right click the top selection and choose Transfer.
Note: On both CoreFTP and FileZilla, you can hold down the control key to add multiple selections to the queue for uploading or downloading.
Read the documentation and explore the program to learn the rest of the features it offers.